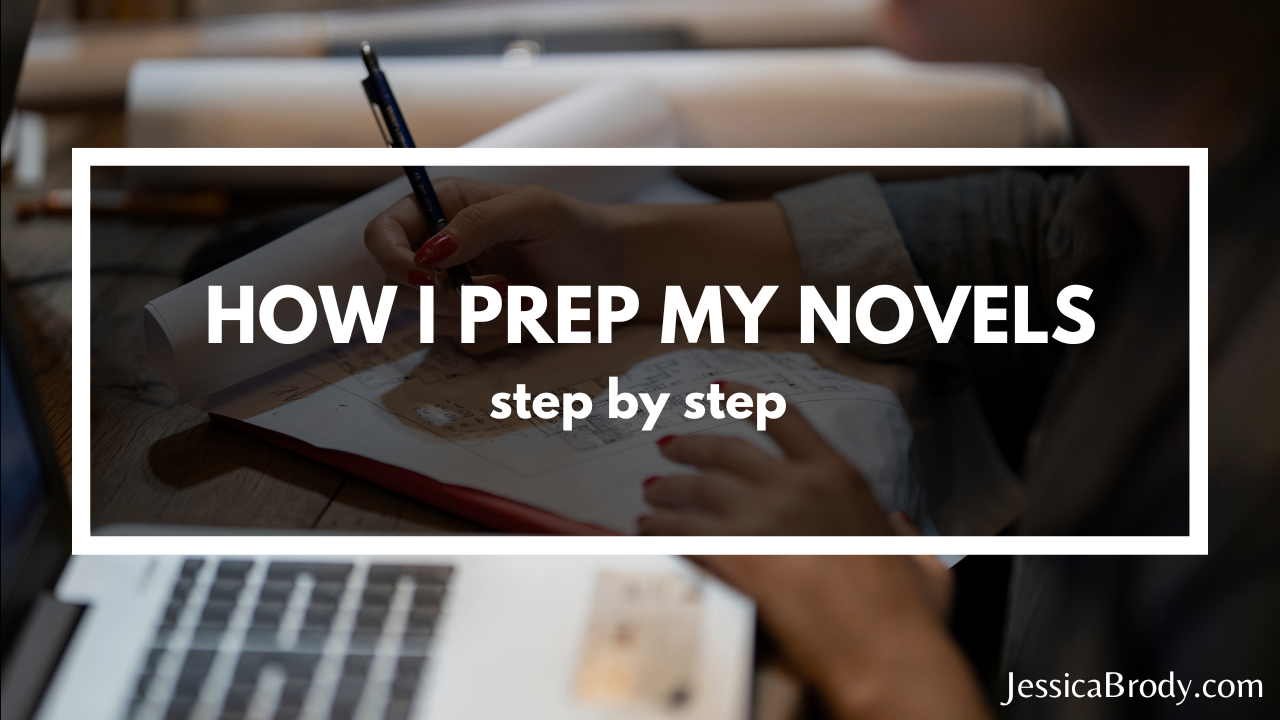
How I Prep My Novels (Step by Step)
This year’s NaNoWriMo was the first year (in a long time…maybe forever?) I got to:
1) Start a new novel on November 1 (In past years, due to deadline timing, I was usually having to finish novels or just make 50k words of progress somewhere in the middle of a novel)
2) Draft a novel (in other years I haven’t been finishing a novel, I’ve been a NaNo Rebel, revising instead of drafting)
3) Work on a novel that’s NOT yet under contract! (With all my currently contracted books in the hands of publishers or agents, I actually get to write a book for FUN this year!)
So I took the opportunity to really dive into this NaNo thing full on, doing all the prep to gear myself up for November 1st when I could hit that gas pedal and GO! I’m even dabbling in a brand new genre I’ve never written before! (sorry, not quite ready to share which genre yet!)
But what I CAN share with you is exactly how I prepped my novel. So here we go!
Step 1: Idea Exploration
I’ve had this idea for about 6 months now and I’ve been waiting for a gap in my schedule when I can sit down and work on it. Lucky me, that rare gap just happened to fall during NaNo season.
Once I realized I had this precious pocket of time, I started just exploring the idea without any structure or guidelines or lists or beats. I spent about a week just thinking about it in whatever direction my brain felt like going.
I thought about where it takes place, who the lead characters and supporting characters were, what kind of voice I wanted the narrator(s) to have, what kind of things I wanted to happen in the plot, what kind of themes I wanted to explore.
I like to do this kind of exploration aloud with a recording app. I’ve loved using Otter.ai (not sponsored!) to record my brainstorms because it also transcribes them as I talk.
So this time was spent walking around my yard or office, just talking things out, getting excited about some things, feeling blah about other things, but generally getting things out of my head.
I absolutely LOVED this part of the process because it’s a step I normally don’t get to do, or I have to do quite quickly, or combine it with other steps. Because I’m usually on a tight deadline, I don’t have a lot of time to just lavishly soak in an idea. It was as heavenly as soaking in a hot bath.
Step 2: Building My Story Bible
After I finished languishing in my idea bath, I created the structure of my “story bible” or “story plan,” which is a growing document or database where all of the details of my story will live from here until I’m finished revising.
I’ve used lots of different software in the past to build my story bibles. Word/Google Docs works great if you use the Style headers to build a table of contents. Lots of writers prefer apps like Scrivener, Dabble, or Plottr. For this book, I started dabbling in an app called Notion, which I hope to share more about in the future as I get more proficient at it. Or an old fashion notebook would do (I’d choose one with tabs you can label, or create your own tabs with post-it notes).
The whole idea here is organization. Structure. Being able to sort your ideas into easy-to-access categories which makes the drafting process smoother (so you’re not spending half of your precious daily writing time searching for ideas!)
I typically organize my Story Bible into Characters, Plot, World (or Setting), and Notes.
Within Characters, I have a profile for each POV character (I think I’m going to have 5 for this novel! EEK!) and side character. Then within each character, I create sub-headings for things I want to brainstorm or learn about each one (like Problems, Wants, Needs, Backstory, etc.)
Within Plot, I keep beat sheets, chapter outlines, and synopses if I choose to do them.
Within World, I create a profile for every setting and location in the story with sub-headings for things I want to brainstorm or learn about each one (like lighting, mood, history, key sensory details, etc.)
Within Notes, I put everything else, like random ideas that I don’t have a place for yet, notes from research I do for the book, and brainstorms that haven’t been finalized yet. This is my general “dumping ground” for ideas until they become concrete enough to move to a dedicated place within the story bible.
(If you want guidance on building a story bible or story plan, check out my Novel Fast Drafting course, where I walk through creating one with you.)
Step 3: Organizing My Ideas
Once I created a neat and tidy place to put everything, I started organizing! This is when I listened back through all of my brainstorms (or read the transcriptions) and started organizing my ideas and notes into their rightful place.
As I did this, new ideas inevitably popped up so I jotted those down in their rightful places as well.
By the end of this step, I had sort of a hodge-podge, barely visible, crooked skeleton of a story plan taking shape. A few beats where there, a few character details, a few setting ideas. But nothing was complete or ready for writing yet (at least not for me!) It was all very swiss-cheesy (full of holes).
Which meant it was time to start my SERIOUS brainstorming!
Step 4: Serious Brainstorming
This has been, by far, the longest part of the process.
For a few weeks, I went part by part through my story bible fleshing out everything with as much detail as I could. This included Character profiles, beat sheet, and my Setting profiles.
This is usually not a SUPER logical or sequential part of the process (for me). It feels more like my brain is a pinball bouncing around from idea to idea. But thankfully, because of Step 2, I can capture those ideas in a more organized way (because I have dedicated places for everything.)
For instance, for the days I chose to work on fleshing out my beat sheet, I would start in the beat sheet section of the bible. But because plot is so connected to characters, I would inevitably get new ideas about my characters and I would have to bounce up to the character section, jot down those ideas, and then return to the beat sheet to keep going with plot. But sometimes that character idea would spark an idea about a setting, so I’d bounce up to Settings, jot down those ideas, and so on and so forth.
(A hint: Don’t delete anything. When new ideas come out that negate old ideas, instead of replacing the old idea, strike through it and put the new idea next to it. That way, you still have record of the old idea if you ever want to resurrect it. I usually don’t delete those strike-through ideas until well into the revision process. If you’re using Word you can delete the older ideas with tracked changes on and Word will keep them archived for you.)
For me, this part of the process always feels partly chaotic and partly exhilarating. It’s a rush during which I’m madly trying to capture everything (recording apps help here too if the ideas are coming too fast and too furiously to write them all down!) and I often feel quite breathless and fatigued at the end of each brainstorming session.
But eventually, things start to take shape. My character profiles start filling up, my beat sheet starts filling out, my settings start feeling like real places. And the ideas stop flowing like a geyser and start flowing more like the last trickles of a hose after it’s been shut off.
That’s where I’m at now. Just catching those last few trickles of ideas and sorting them into the right places.
For me, this is usually a sign that I’m ready to start writing. The brainstorm has become more of a brain sprinkle, which means I’ve pre-discovered nearly everything I can pre-discover. Now, it’s time to start writing so I can discover the rest. (And there will be PLENTY more!)
(If you need help brainstorming your beats, check out my Save the Cat! Novel Writing Course where I guide you step-by-step through the Save the Cat! process and brainstorm a novel along with you.)
Step 5: Research and Last Minute Prep
The next step I do is any research that I think will help me in drafting. Now that I roughly know what the story is going to be and who the characters are, I can start doing some research or last minute prepping and organizing of my story bible.
I want my story bible to be pretty clean and organized before I start writing as I know it will just get messy again during the drafting phase, when I’m hastily jotting down ideas for revision and future scenes. (I don’t normally do a full story bible reorganization until after the first draft is done and I’m ready to start revising.)
This is also a good time in the process to prep your schedule and calendar as well, finding those dedicated times to write each day (If you don’t have a solid writing routine, this blog post will walk you step by step through creating one!)
Also important is getting into the right “mindset” for fast drafting. (This blog post is a good place to start!)
So that’s my prep routine! I wish all of you the best of luck in these last few days of November and beyond.
May the word count be with you!
Filed under: Tips for Writers Writing Mastery Tagged with: fiction writing LMAP nanowrimo novel writing plotting preptober STC Starter Kit (LMAP) Tips for Writers writing mastery writing tips writing tools